Post-processing
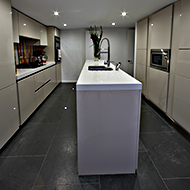
Post-processing is part of the photographic workflow that allows the photographer to adjust the original raw information and produce a photograph as the end result. This isn't a new idea that suddenly appeared with digital cameras and imaging, it can be traced back to the age of chemicals and darkrooms. Just as a negative with the right processing, paper selection, chemical choice, dodging and burning, has the potential to become a print, a digital raw file can be processed into a final image. The workflow that you chose affects the final image that you create. Ansel Adams said of his work that a negative was a score, and the print the performance . Knowing what the final image is going to be used for influences the choice of Equipment and the workflow that you will use to produce it. Having a selection of different workflows even changes the way that you take the photograph in the first place. These type of images are usually created as part of the Verified Views / Accurate Visual Representation workflow and are used as part of a Visual Impact Assessment.
Digital Compositing
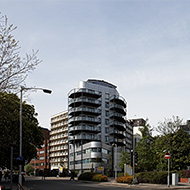
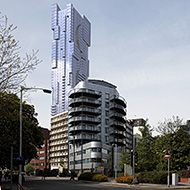
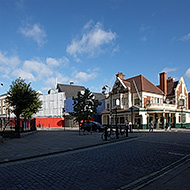
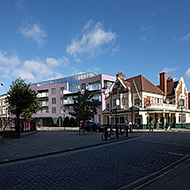
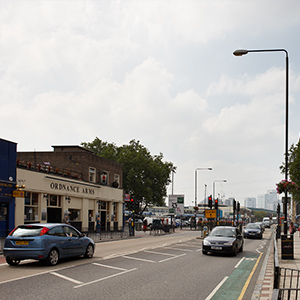
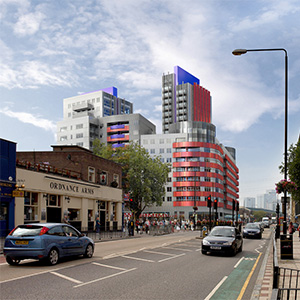
It is not uncommon for planners to want to see a Digital Composite of the proposed building in the current environment. This is achieved by producing a digital version of the building and then merging it into the scene. Several examples of this are shown below.
HDR - High Dynamic Range Images
Getting the exposure right. There are times when the image you are trying to capture has such a large difference between the brightest and darkest objects that it's just not going to make a nice photograph. You will either have a large amount that is burnt out white (usually the sky or external scenes viewed from inside) or a large amount that is all black (objects in shadows with no on details sunny days). Your eyes handle this by changing the pupil size and letting more or less light in as you look around the scene. In normal daylight the eye can handle around 24 stops (each stop being twice as bright as the previous one), digital sensors used by cameras can handle between 10-15 stops. If you give your eyes time to adjust to darkness their total range becomes closer to 46.5 stops. To get around this technical limitation you can take multiple images allowing you to retain detail in both the highlights and the shadows. You can then blend the multiple images together to retain details across the full dynamic range.
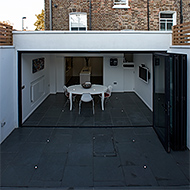
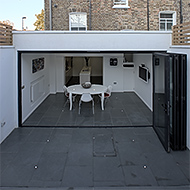
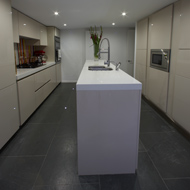
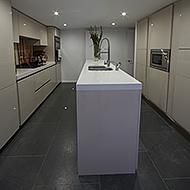
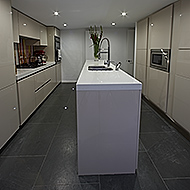
- The first picture shows the image captured with the correct exposure, this image is taken about half an hour before sunset with the sunlight falling directly on the back of the building and the kitchen/dining area in shadow. You will notice that the bottom of the doors are very dark with almost no detail and the curtains in the window and a large portion of sky are burnt out white.
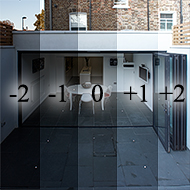
- The second image shows the multiple exposures taken of the building so as to preserve the highlight and shadow detail. In this case 5 exposures each ranging from underexposed to over exposed.
- The third image shows the finished High Dynamic Range image created by combining the 5 exposures so that the final image shows detail in the highlight and shadow areas.
White...ish
One of the frequent problems that appear on architectural photographs is that with the mixtures of different lighting used the images can have colour casts. So instead of white paint looking white, it's orange, yellow or even blue. This usually happens because the camera thinks it's photographing in daylight but is in fact shooting under fluorescent light, tungsten bulbs, halogen or any of the vast array of different lights that are used. Here are some examples of the problems you can get when you trust the camera to do the right thing.
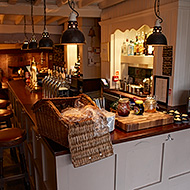
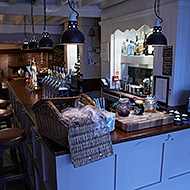
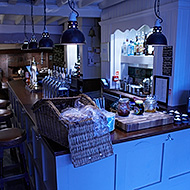
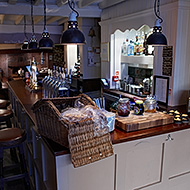
The following picture was taken with no additional light added to the scene. The scene is lit by four different light types, the front of the scene is lit by diffused sunlight through glass, the bar is lit by halogen spot lights from the hanging lamps, the drinks alcoves on the right are lit by fluorescent tubes and the wall mounted lights are incandescent bulbs. All of these lights have slightly different temperatures and therefore add a colour cast to whatever they light.
- The first image is converted as a daylight exposure so that the front of the bar is the right colour, which you can see as the skirting board and power block on the far right side of the picture are white. However as you move back into the image the artificial lighting gives the scene a warmer colour.
- The second image is converted so that the shelf and drinks area is white. You can see that the front part of the scene now has a cooler hue to it.
- The third image is converted so that the poster in the back of the snug just to the left of the wood pile is white. Now the front of the image is very cool.
- The forth image is a montage of the above images keeping a neutral hue throughout the image.
Sharpening
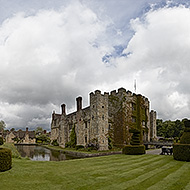
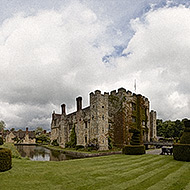
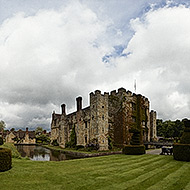
All digital images in their raw format need some processing to get them to a finished state just as a negative needs to spend some time in a dark room before you can get a print from it. Part of the process for digital images is called sharpening which should be the last step of the post-processing workflow. Because of the way that digital cameras are designed they create images that on first inspection are softer than those created via a chemical process. To remedy this situation part of the workflow is the sharpening step which brings the digital image up to the same perceived sharpness as the darkroom produced image. The problem with sharpening is that the amount of sharpening applied is different if the image is to be printed or displayed on screen.
- The first image is the raw file as it arrives from the camera, the only process is resizing it to fit.
- The second image is a sharpened version of the first image ready for a website.
- The third image is a sharpened version of the first image ready for printing.
- The forth image is a sharpened version of the first that has been poorly sharpened.
Simulating Colour or Black & White Film
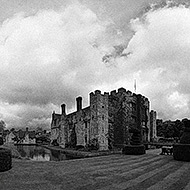
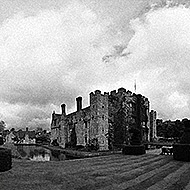
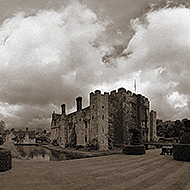
It is possible to retouch a picture so that it looks similar to chemically produced photographs. Different films had different responses to light; some were more sensitive to one type of colour than another and would display more grain depending on how you used them. It is possible if requested to mimic these film types and grain if you are seeking a retro look.
Stitched Multi-Image Panoramas
There are times when you need a very wide-angle image to show the building in its full context or the limitations of the site prevent you being able to capture the image in one shot. To get around these limitations you can create a panoramic view stitched together from multiple images. In the example below the image was made up from 16 photographs that were created after mounting the camera on a special panoramic tripod head.
For this image after converting the RAW files to colour TIFF files alternate images were converted to black and white. The image set was then stitched together with blending disabled to show the hard edges of the alternate files. This shows the sections from the individual images and that the edges are unique to each edge depending upon the underlying image data.
Interested in learning more?
If you've looked through my site and have any questions, I'd be glad to help you. You can contact me on my mobile on 07801 103635 or send me an E-mail and I will get back to you as soon as I can.


